Preparation
Contents
Preparation#
The following will guide you through the requirements for a successful hands-on session.
OS platform#
We present the hands-on exercises to you in Ubuntu for better control of the Docker daemon. You may use any OS platform for the hands-on session. However, please ensure that you have an equivalent installation of all the following services. During the workshop hands-on sessions, we provide technical support also for Windows users.
Git setup#
The hands-on for this workshop requires you have a working git setup that can use the GitLab instance from TU Braunschweig. You should be finally able to use git (pull, push, etc) via the command line.
Note
Participants who are not from TU Braunschweig can use the GitLab instance from TU Braunschweig by signing in with a standard GitHub.com account.
Git installation#
Use command: sudo apt install git
You may install git for windows from https://gitforwindows.org/.
Finally, verify the proper installation with git --version.
Connecting to TU-hosted GitLab via SSH#
To successfully interact with the TU-hosted GitLab, you need to make your OS/system authorized. Please follow the steps below to set this successfully via SSH keys:
Step 1: Open a terminal/command line on your computer
Step 2: (You may skip this step if Step 3 is already satisfied) Generate an ssh key with the command:
ssh-keygen(leave the passphrase empty)Step 3: For windows users, you will find the ssh-key in file
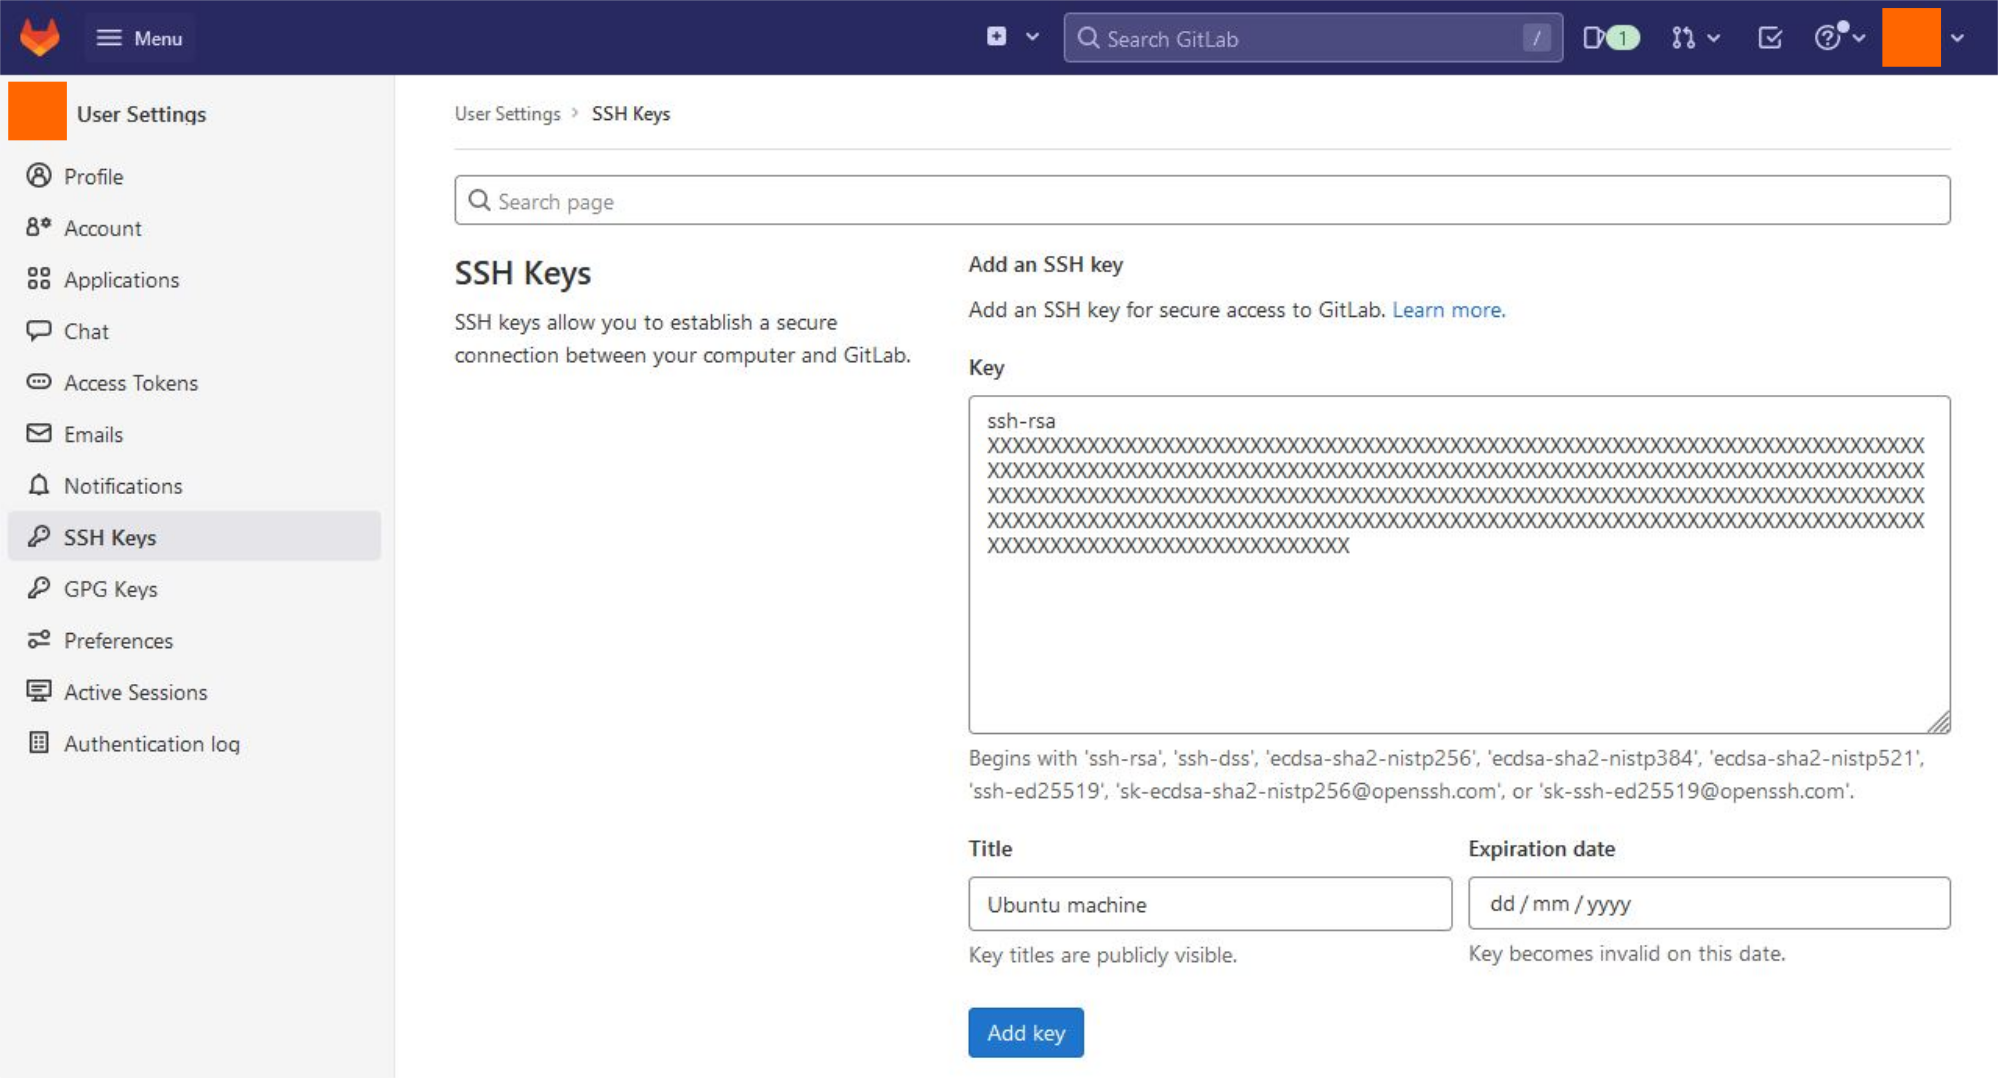
C:\Users\<YOUR_USER>\.ssh\id_rsa.pub. For Linux,/home/<YOUR_USER>/.ssh/id_ed#####.pubcontain your key.Step 4: Like in the figure below, add the generated key (all the content in .pub file) to ‘GitLab user settings > SSH Keys’.
Verify your connection by creating an empty project. Clone the project and try to push some changes.
Setup your project#
This time for the hands-on session, you are working on a project owned by you! For this, you need to fork an existing repository by:
Step 1: Visit the supplied project repository in https://git.rz.tu-bs.de/suresoft/ci-workshop-example
Step 2: Click on “Fork” (see figure below)

Step 3: Within the
Fork projectconfiguration, choose your name within the drop-down menu for the fieldProject URL. Finally, click onFork projectbutton at the bottom. This is your copy of the supplied project owned by you.
Note
The forking procedure will not work for external users signing in via a GitHub account. We will create a project for you to work on.
Visual Studio Code#
Installation for VS Code can be found in https://code.visualstudio.com/. VS Code is chosen to experience the usage of Docker during development.
With VS Code, you can now open the forked project done in Setup your project by choosing Clone Git Repository and provide your forked project’s SSH link (available in your project home in GitLab > Click on “Clone” button > Clone with SSH > git@git.rz.tu-bs.de:<YOUR_USER>/ci-workshop-example.git). If the git authorization did not work, open a command line and clone the repository manually with git clone git@git.rz.tu-bs.de:<YOUR_USER>/ci-workshop-example.git.
Docker#
You require a working Docker engine installed on your computer if you would like to experience working with containers.
Use commands: sudo apt-get update and sudo apt-get install docker-ce docker-ce-cli containerd.io docker-compose-plugin
Problems? Follow the extensive installation guide from Docker
Follow the extensive installation guide from Docker
On successful installation, please verify your installation with docker run hello-world from your command line. You will see the “Hello from Docker!” message.
Note
For Windows machines, Hyper-V and WSL should be enabled to run the Docker engine. Also, you need virtualization support enabled in the BIOS.
CONGRATS! You are ready for the workshop. :)